The K40 Experience
So during lock down I decided to buy one of the cheap K40 Laser cutters and see what it could really do. I bought an OMTech Variant via Amazon priced at £385 at the time. When you purchase the laser cutter you get most of what you need to get you running, you will however need to buy a 5gal bucket to use as a coolant reservoir and about 25l of distilled water – I also added some RV anti-freeze as it was a particularly cold January and my device is in the garage so I needed to avoid the water freezing.
The Laser arrived within a few days and i was able to unpack and setup very quickly. I was initially concerned that aligning the laser was going to be an issue but on first power and test file the laser seemed to be bang on. OMTech had potentially aligned it as the mirrors were all held in place with hot melt glue to avoid them coming out of alignment.
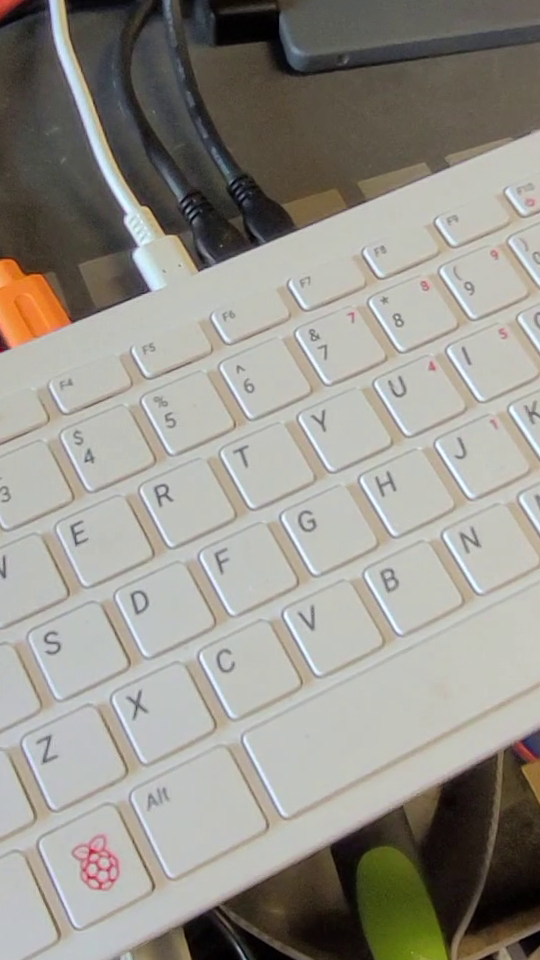
I completely ignored the garbage software that came with it and installed Inkscape and K40Whisperer on a Pi400 as the control and design software seemed a lot more useful. My first result was ‘successful’ but not great!!
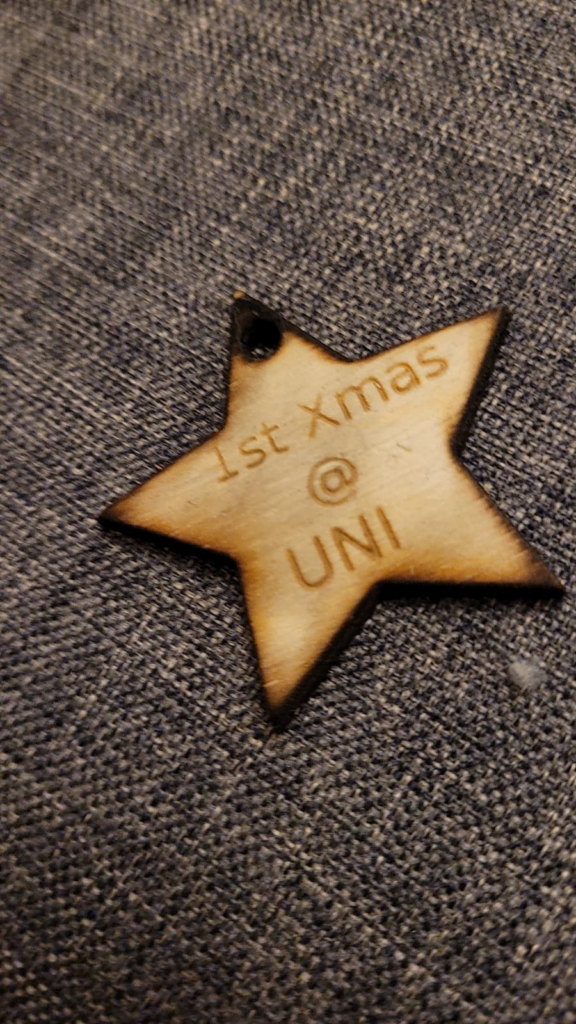
It wasn’t long though that I was soon producing what I think are more than acceptable results on a range of materials for such a “cheap” piece of hardware.


Upgrades
Hardware
Once you have a K40 and you’ve got it producing some good results there comes a time for some upgrades.
First of all I had to add and air assist pump and head which I 3D printed (thingiverse) this seems to be an essential upgrade as it blows away the smoke, stops charring and seemed to help produce cleaner cuts. I also replaced the head with a cloud-ray head that had built in smoke assist and enabled me to put an 18mm lens in place of the stock 12mm.
Another key upgrade was the bed. The size is a little bigger than A4 but you lose a lot because of the vent. I decided to cut that back to make full use of the depth of the bed and added a steel plate with chrome standoffs to try and reduce flash back. This works pretty well and gets rid of that horrible clamp.

I decided against messing about with adjustable scissor lifts etc and just raise the bed by placing spare sheets of MDF underneath which does the job pretty well. Having done a ramp test my focal point working range is between 18mm and 26mm from the base of the head to the top of 3mm material on the spikes and I’ve made a 1mm step guide to ensure my material is always in the correct position

Software
But software was the biggest change for me. K40 Whisperer is good, don’t get me wrong but meerk40T is better by a hundred fold. Once you get MeerK40T running and its a very simple install for Windows or Pi then you have the ability to use PWM on a K40 with the stock M2 Nano board!! (MeerK40T does this via software rather than hardware so its pseudo PWM but it works!)
Once this was installed and a bit of experimenting with power levels (I set my laser at 12% and used PWM for everything else – 100% of 12% being my max of 14mA) I was able to produce some awesome (well I think) rastered images.

This is I think a perfect point to stop basic upgrades as Meerk40T is probably the best software that you will see and gives you some outstanding results. However there is Lightburn.
Lightburn is the mother of Laser Cutting software. It is awesome! it has a fully featured vector editing suite, controls the laser directly and has some well respected built in rastering tools but unfortunately its not compatible with the stock M2 Nano board. I really wanted to use Lightburn so I purchased an upgraded controller for my K40. In my case I purchased a MiniGerbil from awesome tech for about £80. This is by far my most expensive upgrade to date but would enable me to the buy lightburn for about £30.


Is this upgrade worth it? Well I was on the fence. It’s took me a long time to be able to produce rastered images to the same quality as MeerK40T and I had lots of problems setting it up. Including needed to add a load of ferrite cores to try and stop some of the RF interference which seems to badly affect the Gerbil Board.
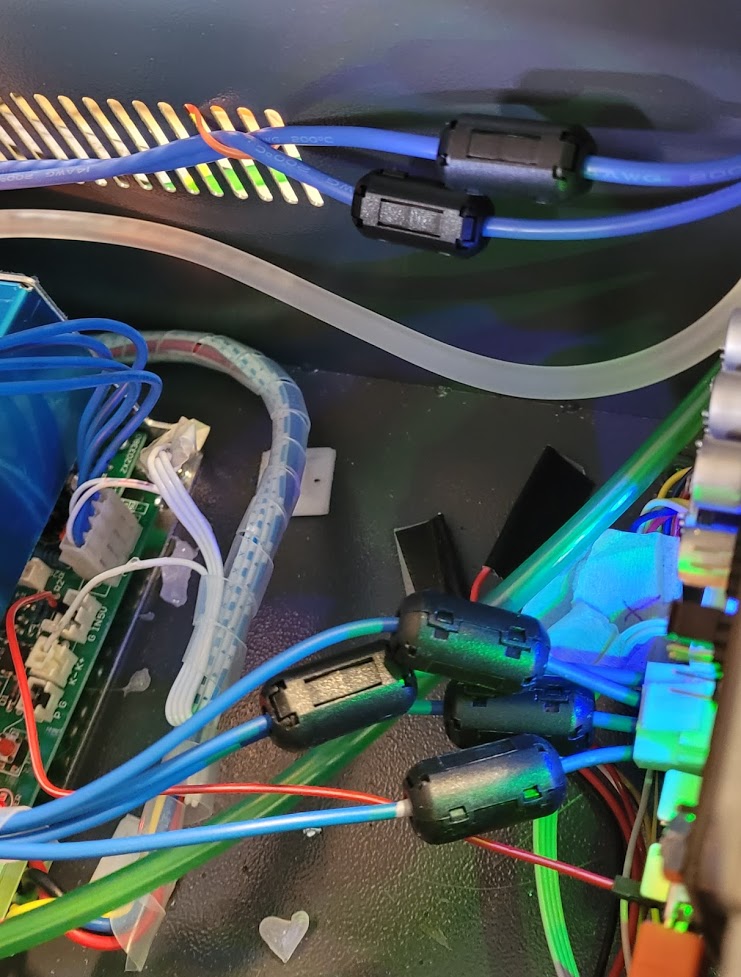
But now its up and running yes most definitely. The vector cutting via lightburn is faster, results seem cleaner and when it comes to images – while it takes some tweaking, you have a lot of options to be able to play with and you can tweak the image to suit any material you are engraving to. The MiniGerbil board is definitely a good choice, but only if you really, really want Lightburn. You can do everything you want to a very similar standard sticking with the Nano and utilising the power of Meerk40T – If you haven’t tried it and are using Whisper – You need to!
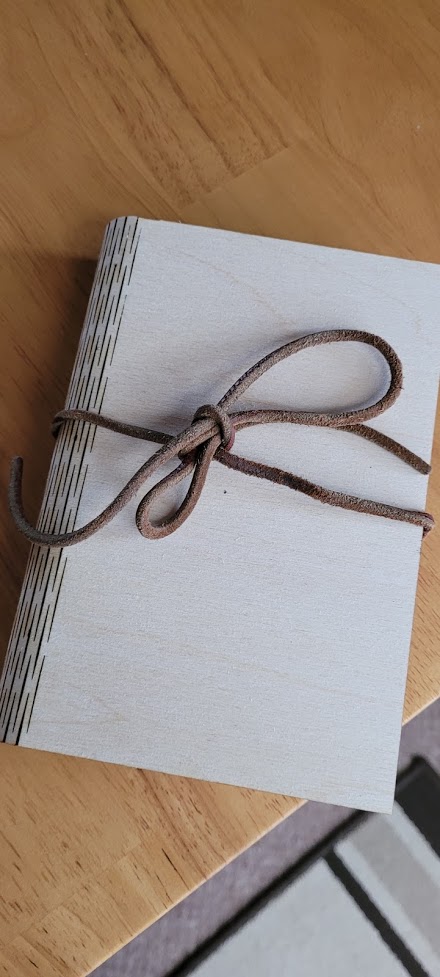
What Next
Well I’ve still a lot to learn. My next big purchase will have to be a rotary attachment as that looks like it could be a really fun and useful tool – I also really need to invest in a decent chiller. I did pick up a CW3000 but this is really just a radiator and fan so struggles to lower the temperature now we are heading towards summer so a CW5200 is potential purchase but at £300+ I’ll probably just keep chucking frozen milk bottles in my bucket. That seems to drop the temperature pretty quickly.
